Since my local council offers free composting bins we started our home composting journey. It’s been years since we have been recycling our food waste using local authority services. And it is mind blowing how much space food waste segregation saves in a generic waste bin. But composting is new to me and here are my learnings for anyone starting like me.
Where to put your composting bin?
Easy decision? Think twice – choosing the optimal composting placement might be far more difficult than expected. Consider accessibility, smell, what’s best for compost material production and neighbours of course.
- Partial sun – the best location is in shade or partial shade but with a bit of sunlight. Cold placement slows down composting process. Top much sun means that the material becomes dry and composting stalls.
- Away from the house and ideally trees – smaller tree roots might end up in the compost pile searching for water and nutrients. Unwanted insects, while helpful for composting, might make their way inside the house.
- Allowing for easy access and room for work – here is where we fail. We squeezed our composting bin away from the house (and not too close to neighbours) but open access to turn compost might be tricky.
- Directly on soil – this allows for composting liquid to drain away so no in between layer is needed. Some sources suggest placing coarse elements on the bottom but others advice against if compost is turned frequently.
Turning or not turning?
Turning the composting material is another new topic to me. If we decide to do it, this worm-filled task will most likely be gently delegated to my husband. Being new to the topic, I learnt that turning helps airing the heap which leads to faster composting. Turning should be done every 2 – 4 weeks and if it is not done composting will take 6-12 months longer depending on the climate. Funnily enough, according to the Guardian article there is an entire debate around this topic. Some say that “as long as you get the balance of greens and browns right, heaps shouldn’t need to be turned.” Others mention that air holes in the bin are enough and worms will do the job on their own.
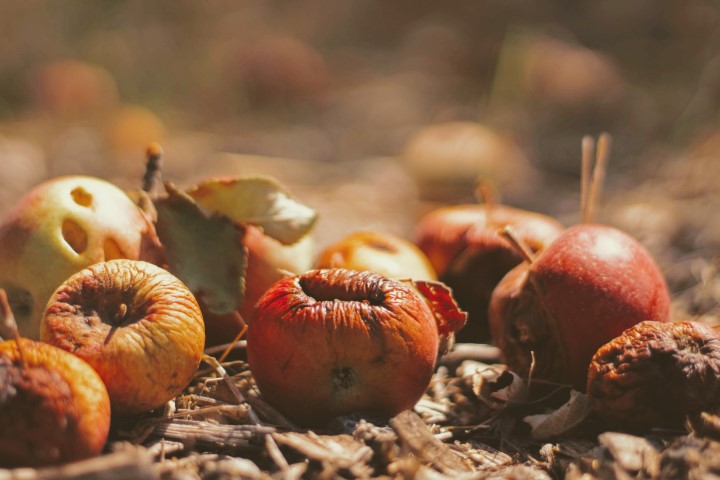
What is consider as green and brown material in composting?
According to the Royal Horticultural Society “Compost heaps should contain a mixture of woody, carbon-rich ‘brown’ waste and softer, nitrogen-rich ‘green’ materials.
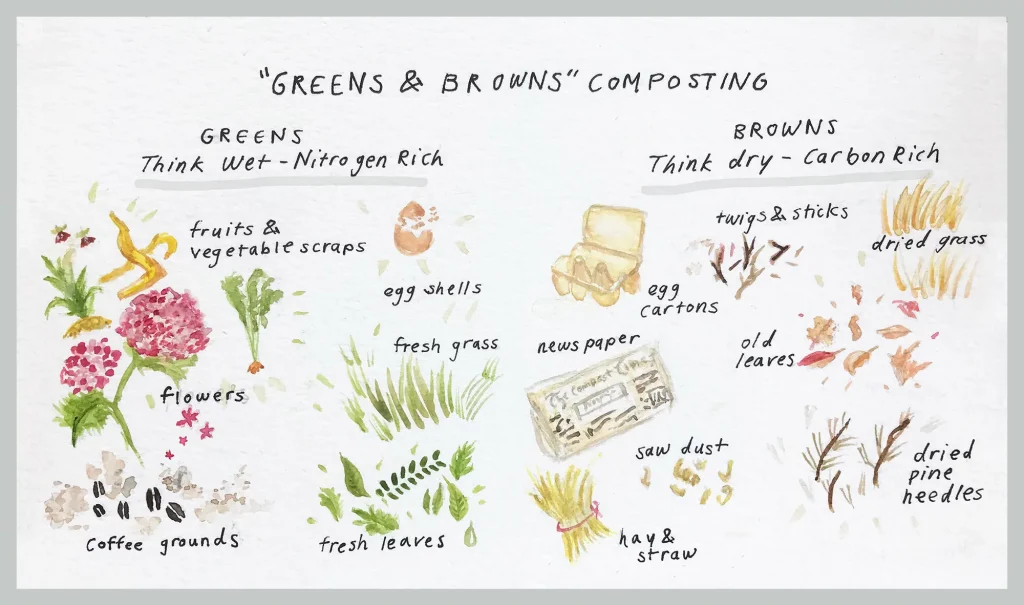
Image source: NPR
What to compost and what not?
While initially this might feel overwhelming, perhaps it’s easier to remember the don’ts. And understand why certain food waste is not recommended on the composting heap.
Don’ts of composting
- Cooked food – it can get mouldy.
- Meat, fish and bones – home composts with meat and fish can not only attract rats but also create safety risks with harmful bacteria spreading to the compost.
- Potatoes peels – raw potatoes can bring fungus.
- Citrus skins – some say that acidity slows down composting but some suggest that they are very helpful for composting process.
- Oli – it can not only slow down composting process but also attract rodents.
- Dairy products – as above they contain fat.
- Cat litter – if it is biodegradable it can be added to the heap. But some websites warn against parasites found in cat feces.
- Weeds – due to seeds that can be killed in commercial hot composts but not home ones.
Dos of composting
- Any food scraps – make sure that they are non-animal based.
- Egg shells – which are considered as an excellent addition due to high calcium (avoid egg whites and yolks though).
- Tea bags – a big topic for me since I like my teas a lot. They can be composted as long as they are made from biodegradable materials.
- Coffee grounds – they are rich in nitrogen, rich in nutrients.
- Green leaves – considered as green matter.
- Grass clippings – but too many of them might lead to airless, soggy and dry compost.
- Cardboard, egg boxes, toilet tubes and paper bags – perfect brown matter.
- Cereal boxes – as long as not glossy nor printed.
Using or not biodegradable liners?
Some sources say they can be used specifically to neatly transport scraps between the kitchen and compost heap. But others like The New York Times suggest that they might create more harm than good. Home composting might not be hot enough opposite to large composting facilities. Which means that those bags might not break down.
How to know your compost is ready? And what next?
A dark brown or black layer on the bottom of the composting bin indicate it is ready. If badly done it can take two years, but it can be a few months only during summer months. You can now use it all around the garden as soil conditioner. It can also be used for potting plants mixed with other materials.
Composting stats
Every little step matters so if you can give composting a go. Stats are a bit depressing but show potential how much more could be done.

Image Source: Zero Waste Europe, 2020.
More ideas
If you enjoyed reading this blog, why not checking the post about Eco-friendly swaps or How to go plastic free at home?